The secret to a truly camera-ready glow isn’t finding one magic facial, but mastering a strategic architecture of treatments that target different layers of your skin biology for specific, high-impact results.
- Microcurrent builds the foundational muscle tone for a sculpted, lifted appearance, while Oxygen facials provide a temporary, hyper-hydrated “glass skin” finish perfect for a specific event.
- High-risk procedures like deep microneedling and preventative Botox create a “downtime deficit” and can compromise the expression authenticity that casting directors value, making them a liability for working models.
Recommendation: Adopt a stacked protocol of non-invasive treatments—combining Microcurrent, Oxygen, LED, and Lymphatic Drainage—timed precisely to your shoot schedule and career demands for maximum impact with zero risk.
When your face is your fortune, there is no room for error. The pressure to show up to a casting or a photoshoot with luminous, flawless skin is immense, but the risk of a treatment-gone-wrong is even greater. A breakout, irritation, or unexpected downtime can mean a canceled job and a damaged reputation. This is the tightrope every model walks. The common advice is a confusing whirlwind of buzzy treatments: LED, microcurrent, oxygen, radiofrequency. They all promise a “glow,” but for a professional, that’s not enough. You need to know which glow, for how long, and with what precise effect on your facial muscles and skin texture.
The conventional approach treats these facials like a menu to choose from. But the elite strategy, the one we use for A-listers before red-carpet events and magazine covers, is about Glow Architecture. It’s about understanding that a camera-ready face is built in layers. You need a strong muscular foundation, a plump and hydrated epidermis, and optimized fluid dynamics to eliminate puffiness. It’s not about choosing one treatment; it’s about strategically stacking them to bio-hack your skin for the camera.
Forget the generic advice. This is your insider guide to building that impeccable, resilient glow. We’ll move beyond the ‘what’ and into the ‘why’ and ‘when.’ We will dissect how to sculpt your facial contours with microcurrent, achieve that ‘glass skin’ effect with oxygen, and why some popular treatments like preventative Botox can be a career-ending mistake. This is about making informed, strategic decisions that elevate your look without ever putting your next job on the line.
For those who prefer a hands-on approach, the following video provides a detailed tutorial on one of the foundational techniques we’ll be discussing: lymphatic drainage massage. It’s a perfect visual complement to the professional protocols in this guide.
To navigate this high-tech world of aesthetic treatments, we have structured this guide to address the most critical questions a model faces. Each section breaks down a specific technology or strategy, offering a clear verdict on its role in your professional toolkit.
Summary: A Strategic Guide to Non-Invasive Facials for an Instant Glow
- Microcurrent Lifting: Can It Really Replace Botox for Models?
- Oxygen Infusion: Why It’s the Red Carpet Secret for Plump Skin?
- Lymphatic Drainage: How to De-Puff Your Face in 20 Minutes?
- Microneedling Risks: Is It Safe for Models With a Busy Schedule?
- Why Preventative Botox Can Backfire for Commercial Expressions?
- Modeling at 40+: Why Skincare Brands Are Desperate for Mature Faces?
- How to Remove Waterproof Stage Makeup Without Damaging Your Skin?
- The 15-Minute Daily Routine That Keeps You “Camera Ready” 365 Days a Year?
Microcurrent Lifting: Can It Really Replace Botox for Models?
Think of microcurrent as a Pilates session for your face. Unlike Botox, which paralyzes muscles, microcurrent re-educates them. It uses a low-level electrical current to stimulate and tone the 43 muscles in your face and neck, creating a lifted, sculpted appearance that looks natural and, most importantly, expressive. For a model, this is a game-changer. You maintain the full range of motion needed for commercial work while achieving a firmer, more defined contour, especially around the jawline and brows.
The science behind it is compelling. This isn’t just a superficial fix; it works at a cellular level. Research shows that specific microcurrent frequencies can trigger a massive biological response. In fact, one landmark study confirmed that microcurrent can result in an increase of up to 500% in cellular energy (ATP). This surge in ATP fuels collagen and elastin production, the very proteins responsible for your skin’s firmness and elasticity. The result is a cumulative one: the more consistent you are, the better and more lasting the lift.
So, can it replace Botox? For a model, the answer is a resounding yes. While Botox excels at erasing deep-set static lines, it does so at the cost of expression—a critical tool of your trade. Microcurrent offers a superior alternative for maintaining a youthful, toned facial structure without compromising your ability to convey emotion. It’s not about freezing time; it’s about bio-hacking your muscles to perform at their peak. It is the core of long-term Glow Architecture.
Oxygen Infusion: Why It’s the Red Carpet Secret for Plump Skin?
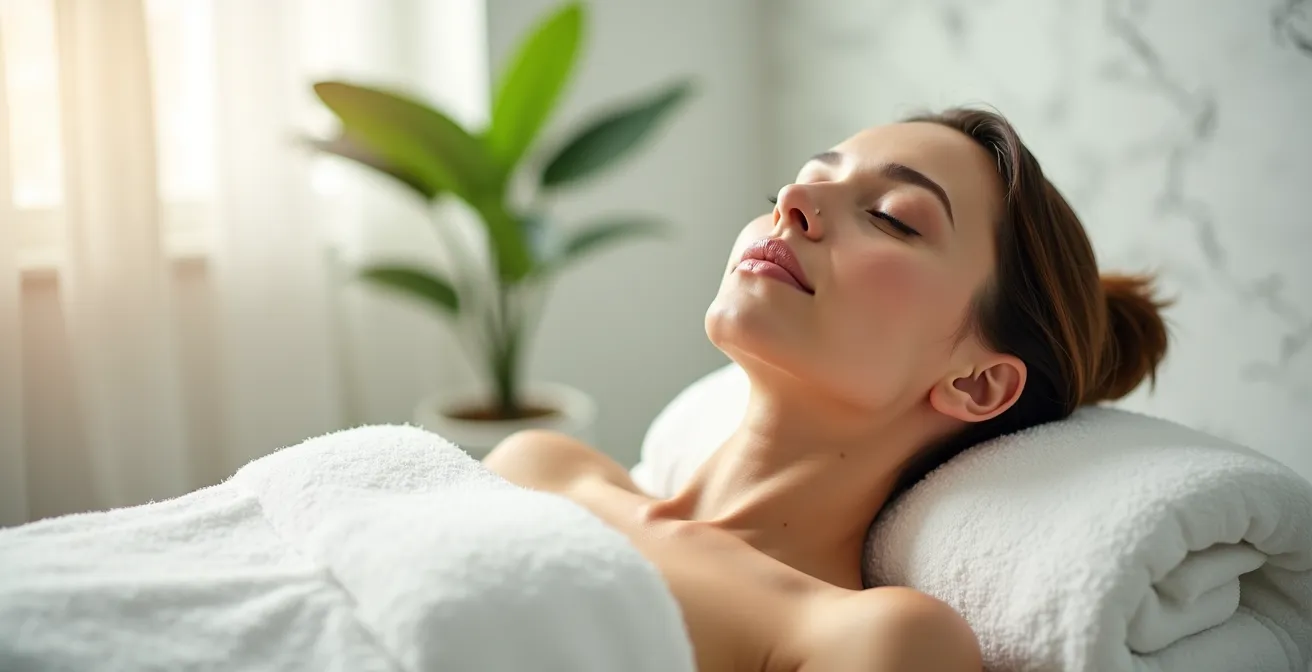
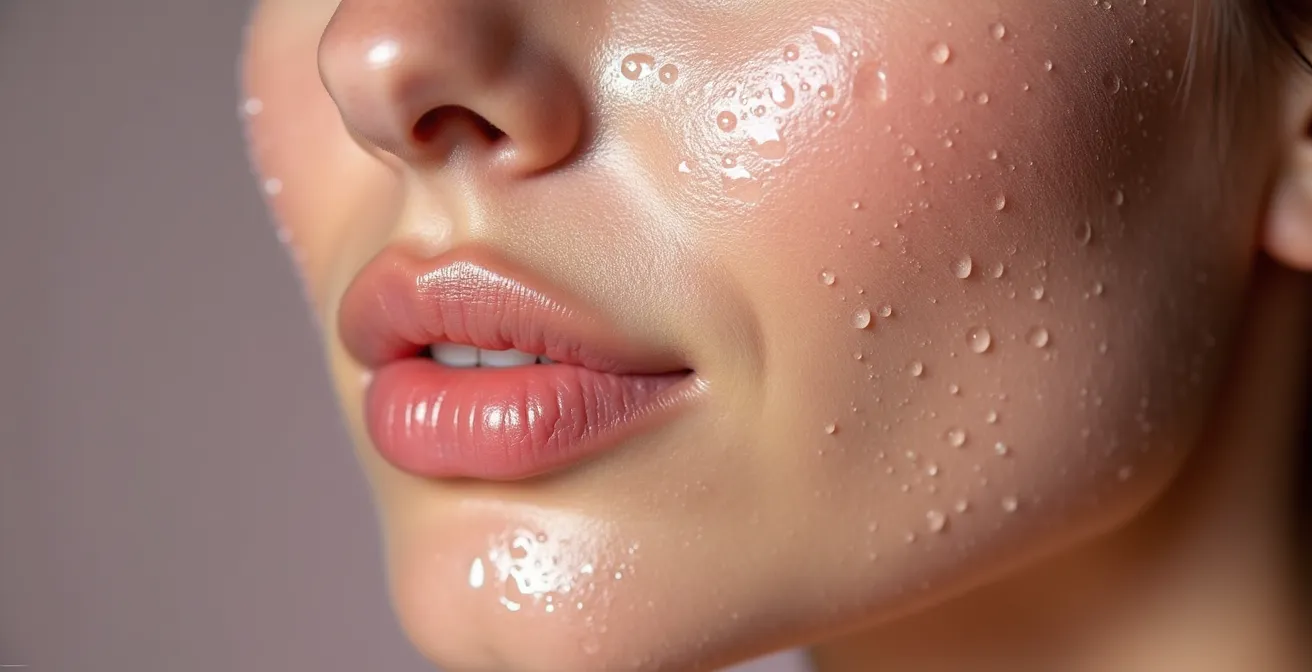
If microcurrent is the gym for your face, an oxygen facial is the ultimate finishing polish. This is the treatment that delivers that immediate, almost unbelievable “glass skin” effect you see on celebrities moments before they step onto the red carpet. It works by using a stream of high-pressurized oxygen to deliver a serum—typically packed with low-molecular-weight hyaluronic acid, vitamins, and botanical extracts—deep into the epidermis. The result is instant, dramatic hyper-hydration. Your skin is plumped from within, fine lines are temporarily erased, and the surface reflects light beautifully.
The key word here is “temporary.” An oxygen facial doesn’t build collagen or restructure the skin. Its magic lies in creating a short-term, high-impact plumping effect. The glow is undeniable, but it’s crucial to time it correctly. The “72-Hour Celebrity Glow Window” strategy is our go-to: the peak effect occurs within three days post-treatment, making it the perfect prep for a specific event or photoshoot. It’s not a long-term solution, but a powerful, event-specific tool for your arsenal.
While at-home hydration methods can provide daily maintenance, they simply can’t replicate the immediate, dramatic plumping of a professional treatment. The pressurized delivery system is what makes all the difference. The following table breaks down exactly where each approach fits into your strategy.
| Factor | Professional Oxygen Facial | DIY Hydration Stacking |
|---|---|---|
| Initial Cost | $165-300 per session | $50-80 for products |
| Duration of Results | 5-7 days | 24-48 hours |
| Treatment Time | 30-60 minutes | 15-20 minutes |
| Plumping Effect | Immediate, dramatic | Gradual, subtle |
| Best For | Red carpet events, photoshoots | Daily maintenance |
Lymphatic Drainage: How to De-Puff Your Face in 20 Minutes?
You wake up on the morning of a shoot looking puffy and undefined after a long flight or a salty meal. This is where manual lymphatic drainage (MLD) becomes your most valuable emergency tool. It’s a specialized massage technique that encourages the natural movement of lymph fluid. Unlike a deep tissue massage, MLD is incredibly gentle. Its purpose isn’t to work muscles, but to stimulate the delicate, superficial network of vessels just beneath the skin’s surface, clearing away stagnant fluid and cellular waste that cause puffiness and a dull complexion.
The technique is everything. As Tori Harsha, a licensed massage therapist, emphasizes in a health brief for the Cleveland Clinic, the pressure must be feather-light. She states:
Your lymph vessels are a very superficial system, so it’s important to use very light, gentle pressure. You don’t want to squash them!
– Tori Harsha, LMT, Cleveland Clinic Health Essentials
This gentle approach is what makes it so effective and safe for immediate pre-shoot use. A 20-minute protocol can dramatically reduce swelling around the eyes and jawline, revealing sharper, more sculpted facial contours. It’s the fastest way to bio-hack fluid dynamics for a camera-ready look. For models, mastering a self-massage protocol is a non-negotiable skill for maintaining a consistently defined appearance, no matter your schedule.
Here is a professional-grade emergency protocol to follow:
- Minutes 1-3: Start with neck drainage. Use gentle, J-shaped strokes just above your collarbones to open the “terminus,” the area where lymph fluid re-enters the circulatory system.
- Minutes 4-8: Use your fingers or a Gua Sha tool with light pressure, focusing on the jawline and under-eye areas. Always stroke from the center of the face outwards.
- Minutes 9-13: Apply cryo-tools (ice globes or rollers stored at cold temperatures) in upward sweeping motions. This causes vasoconstriction, further reducing swelling.
- Minutes 14-18: For stubborn fluid retention in the jaw or cheek area, a percussive therapy device on its lowest setting can provide gentle stimulation.
- Minutes 19-20: Finish with final drainage strokes, sweeping from the center of your face toward your ears, and then down the sides of your neck to the terminus.
Microneedling Risks: Is It Safe for Models With a Busy Schedule?
Microneedling, also known as collagen induction therapy, is a powerhouse for long-term skin rejuvenation. It creates micro-injuries in the skin to stimulate a powerful wound-healing response, resulting in new collagen and elastin. It can dramatically improve texture, scarring, and firmness. However, for a working model, it comes with a significant and often overlooked cost: the downtime deficit. Even a “light” microneedling session can lead to several days of visible redness, peeling, and a rough texture that makes makeup application impossible.
This recovery period is a professional liability. A 7-10 day window where your skin is compromised is a luxury most models can’t afford. This is where a gentler alternative, nano-infusion (or nano-needling), becomes a much smarter choice. Nano-infusion uses microscopic silicone tips to create nano-channels in the very top layer of the epidermis. It doesn’t penetrate the dermis, so there is no bleeding and virtually no downtime. It’s excellent for enhancing product penetration by up to 97% and giving the skin an immediate, hydrated glow—perfect for a shoot.
Case Study: PIH Risk Management for Models of Color
The risks of microneedling are amplified for models with Fitzpatrick skin types IV-VI, who face a significantly higher chance of post-inflammatory hyperpigmentation (PIH). Proper management is non-negotiable. This includes pre-conditioning the skin for 4-6 weeks with tyrosinase inhibitors like kojic acid and strict post-care involving growth factors and mineral SPF 50+. One model reported career-impacting dark spots that lasted for three months after improper aftercare, highlighting how critical these protocols are for protecting models of color from lasting damage.
The choice between these two treatments comes down to a clear-eyed assessment of risk versus reward, as the timeline below illustrates.
This comparative timeline, based on industry aesthetician reports, clearly shows why one option is better suited for a working model’s schedule. A similar breakdown in leading beauty magazines confirms that nano-infusion is the preferred pre-event treatment.
| Day Post-Treatment | Microneedling (0.5-1.5mm) | Nano-Infusion (0.15-0.25mm) |
|---|---|---|
| Day 0-1 | Visible redness, no makeup possible | Slight flush, makeup after 2 hours |
| Day 2-3 | Peeling begins, texture rough | Normal appearance, full activities |
| Day 4-5 | Micro-peeling, makeup sits unevenly | Enhanced glow, optimal for shoots |
| Day 6-10 | Gradual normalization | Maintained results |
| Work Availability | 7-10 days compromised | Same day return possible |
Why Preventative Botox Can Backfire for Commercial Expressions?
The idea of “preventative Botox”—using small amounts of neurotoxin in your 20s and 30s to prevent future wrinkles—has gained immense popularity. For many, it’s a staple. But for a commercial model, it can be a silent career killer. The value you bring to a brand often lies in your ability to convey relatable, authentic emotion: a joyful laugh, a look of surprise, a warm, trustworthy smile. Botox, even in minimal doses, can subtly flatten these micro-expressions, undermining the very authenticity you’re hired to project.
The most critical casualty is often the “Duchenne smile”—a genuine smile that involves both the zygomatic major muscle (lifting the corners of the mouth) and the orbicularis oculi muscle (creating “crow’s feet” around the eyes). Casting directors and audiences subconsciously read this full-face engagement as authentic. An anonymous industry casting director surveyed on model selection criteria confirmed this, stating, “Even minimal Botox can inhibit the subtle muscle movements around the eyes in a Duchenne smile that casting directors and audiences subconsciously read as authentic and trustworthy.” This lack of expression authenticity can make a performance feel flat or disingenuous, leading to lost opportunities.
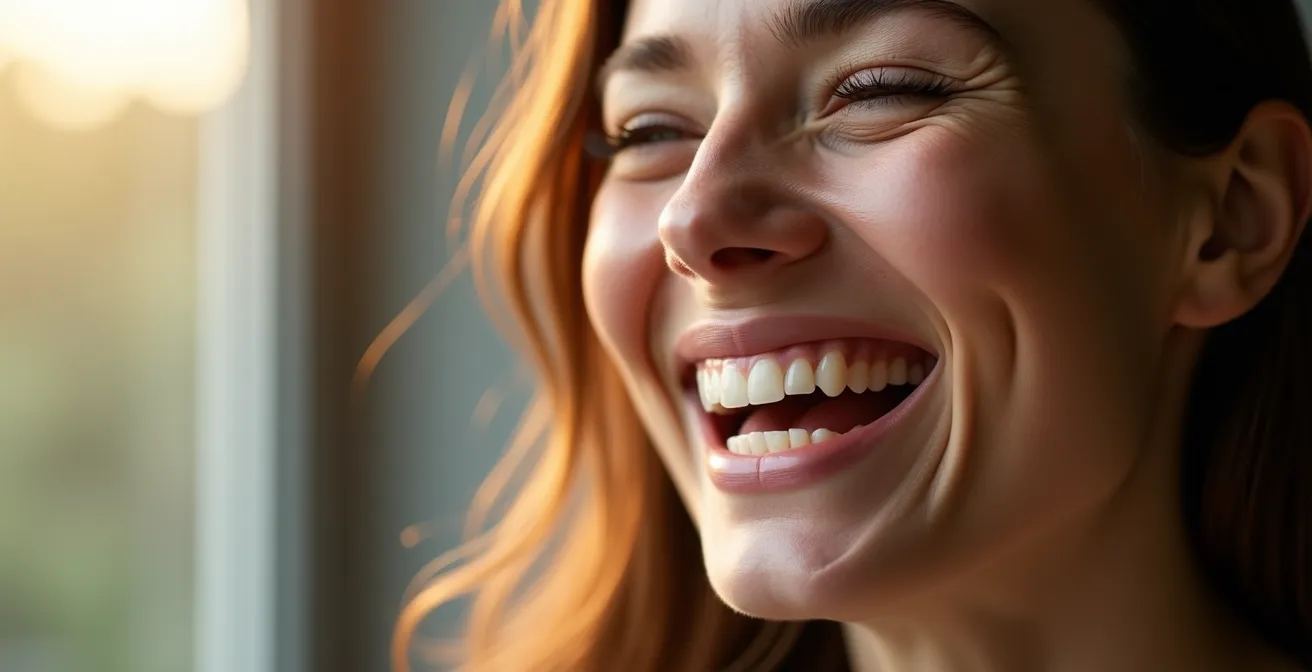
The image above perfectly illustrates the difference. On one side, you see the dynamic, engaging energy of a natural expression. On the other, a face that is smooth but emotionally muted. For beauty and lifestyle campaigns, where connection is key, the choice is clear. The goal should be to hydrate and care for expression lines, not eliminate the expressions themselves. This is why treatments like microcurrent and LED therapy, which enhance skin quality without restricting movement, are far superior investments for a commercial model’s career.
Modeling at 40+: Why Skincare Brands Are Desperate for Mature Faces?
There’s a powerful shift happening in the beauty industry. Brands are moving away from the flawless, ageless ideal and embracing “authentic aging.” They’re seeking models in their 40s, 50s, and beyond who embody vitality and have a story to tell through their faces. This isn’t just a trend; it’s a market-driven demand. Consumers want to see themselves reflected in campaigns, and the spending power of the 40+ demographic is undeniable. Recent industry data shows that bookings for mature models by brands seeking ‘authentic aging’ faces have increased by 200% in the last year alone.
For models in this age bracket, the skincare strategy changes. It’s no longer about prevention, but about support and scaffolding. The goal isn’t to erase every line but to maintain skin health, muscle tone, and a vibrant luminosity that reads as healthy and confident on camera. This is where non-invasive tech truly shines. As collagen production drops significantly during perimenopause (by as much as 30%), a consistent protocol becomes essential for maintaining the dermal matrix.
We call this the “Scaffolding Strategy,” a multi-layered approach to support the skin’s structure:
- Foundation Layer: Start with a series of weekly radiofrequency treatments to rebuild the deep collagen matrix, providing a firm base.
- Maintenance Phase: Incorporate bi-weekly microcurrent sessions to maintain muscle tone, focusing on the jowls and brows where gravity’s effects are most visible.
- Daily Support: A daily regimen of morning peptide serums (like Matrixyl 3000) and evening retinoids (or Bakuchiol for sensitive skin) provides constant cellular signaling.
- Character Line Care: Rather than trying to eliminate expression lines, keep them soft and hydrated with hyaluronic acid serums. They are part of your character and authenticity.
This strategy allows mature models to present the best version of their authentic selves, meeting the market’s demand for faces that are both beautiful and real.
How to Remove Waterproof Stage Makeup Without Damaging Your Skin?
You can invest thousands in the world’s best facial treatments, but if you remove your makeup improperly, you are actively sabotaging your results. Heavy, waterproof stage makeup requires robust removal, but aggressive scrubbing, harsh chemicals, and makeup wipes create a state of chronic inflammation and compromise your skin’s delicate lipid barrier. This inflammation directly counteracts the cellular repair, hydration, and calming benefits you work so hard to achieve with LED, oxygen, and microcurrent treatments. It can set your skin back weeks.
The main culprits are “silent saboteurs” in many popular removers: ingredients like sodium lauryl sulfate (SLS), denatured alcohol, and synthetic fragrances. These strip the skin, disrupt its pH, and trigger an inflammatory cascade. Makeup wipes are particularly damaging, as the physical rubbing action can cause micro-tears in the skin, creating entry points for bacteria and further irritation. Protecting the investment in your skin means adopting a removal method that is both effective and barrier-supportive.
The “Triple Threat” removal method is the professional standard. First, use a solid cleansing balm or oil on dry skin to melt away stubborn pigments and silicones. Massage it in gently. Second, without rinsing, apply a creamy, non-foaming cleanser on top to emulsify the oil and lift everything from the pores. Third, rinse thoroughly with lukewarm water and follow with a final sweep of gentle micellar water on a soft cotton pad to catch any last residue. This method dissolves makeup without friction or stripping.
Case Study: 5-Minute Barrier Repair Protocol Post-Removal
Makeup artists for film and stage report that models who follow an immediate barrier-repair protocol after removal maintain significantly better skin condition over time. A study of their practices showed that a simple 5-minute routine prevents the inflammation that can undo expensive treatments. The protocol involves: spraying the clean skin with a hypochlorous acid mist to neutralize bacteria, applying a ceramide-rich balm to replenish lipids, and finishing with a cica (centella asiatica)-infused cream to calm any residual redness. This quick step is a crucial investment in skin resilience.
Key Takeaways
- The ultimate “glow” is not from one treatment, but a strategic architecture combining muscle toning (Microcurrent), surface plumping (Oxygen), and fluid management (Lymphatic Drainage).
- Zero-downtime treatments are a professional necessity for models. The “downtime deficit” from aggressive procedures like deep microneedling is a career risk.
- Expression authenticity is a valuable asset. Preventative Botox can flatten micro-expressions and undermine a model’s commercial appeal.
The 15-Minute Daily Routine That Keeps You “Camera Ready” 365 Days a Year?
Professional treatments are the pillars of your Glow Architecture, but the daily routine is the mortar that holds it all together. A consistent, intelligent 15-minute daily practice is what maintains your skin’s health, resilience, and camera-readiness between appointments. It’s not about having a 10-step routine; it’s about using a few powerful, targeted ingredients and tools with absolute consistency. The most effective approach is a modular system: a non-negotiable “Core Four” foundation plus a rotating “Booster” module you choose based on your skin’s needs that day.
The Core Four are your daily essentials: a potent L-Ascorbic Acid (Vitamin C) serum in the morning to protect against environmental damage, a high-quality mineral SPF 50+ to prevent UV-induced aging, a gentle retinoid alternative like Bakuchiol or a low-dose retinol at night for cellular turnover, and Niacinamide to strengthen the skin barrier and regulate oil. This foundation takes less than five minutes and covers the most critical aspects of skin health.
The Booster Module is where you customize. You have 10 minutes. Is your skin looking inflamed or red? Use a red light LED panel. Feeling puffy? Spend the time on a Gua Sha routine. Need a little lift before a casting? Do a 5-minute microcurrent session with your at-home device. This modular approach allows you to respond to your skin’s daily fluctuations without overhauling your entire routine. It’s an efficient, intuitive way to ensure you are always just minutes away from being camera-ready.
Your Camera-Ready Audit: The Core Four + Booster System
- Establish Your Daily Points of Contact: Are you consistently using the “Core Four”? Your baseline should be L-Ascorbic Acid 15% serum, mineral SPF 50+, a retinoid/Bakuchiol, and Niacinamide 10%.
- Inventory Your Booster Arsenal: What tools do you have for your 10-minute booster? This could be a Red Light LED device for inflammation, a Gua Sha or cryo-tool for puffiness, or an at-home microcurrent device for lifting.
- Check for Coherence and Syncing: Are you aligning your boosters with your needs? Consider cycle syncing: focus on hydration and plumping treatments in the first half of your menstrual cycle and prioritize anti-inflammatory LED in the second half.
- Plan Your Power-Pop: Identify your go-to pre-audition sequence for maximum impact. A 2-minute cryo-tool massage, 5-minute caffeine eye masks, and a 3-minute application of a tensing serum can create a memorable, confident look in minutes.
- Build Your Integration Plan: Schedule a weekly 20-minute lymphatic drainage massage as a “system reset” to maintain your baseline and integrate the benefits of all your daily and professional treatments.
By implementing these targeted daily practices and making strategic choices in professional treatments, you build a resilient, luminous complexion that is always prepared for the camera’s unforgiving lens. The next step is to personalize this framework to your unique skin and career demands.
Frequently Asked Questions About Makeup Removal and Professional Treatments
Why does aggressive makeup removal undo expensive facial treatments?
Harsh removal strips the skin barrier, creating inflammation that directly counteracts the cellular repair and hydration benefits from LED, oxygen, and microcurrent treatments. This can set back treatment results by 2-3 weeks.
What ingredients in makeup removers are most damaging to professionally-treated skin?
Avoid sodium lauryl sulfate, denatured alcohol, synthetic fragrances, and mineral oil. These ‘silent saboteurs’ disrupt the skin barrier that treatments work to strengthen.
What’s the proper ‘Triple Threat’ removal method for stage makeup?
First, apply a solid cleansing balm to dissolve makeup. Second, use a creamy cleanser on dry skin to emulsify the balm and lift impurities. Third, finish with a gentle micellar water rinse. Never use makeup wipes, which can cause micro-tears and irritation.